Understanding the Role of Finish Trim in Interior Design
Finish trim is a fundamental component of interior design that elevates a space from simply functional to aesthetically refined. It encompasses various molding and trim elements that frame doors, windows, floors, and walls, providing a seamless transition between different surfaces and adding decorative accents. These elements serve not only a stylistic purpose but also contribute to the overall architectural integrity of a home or commercial space.
Historically, finish trim has been used to conceal joints, gaps, and structural imperfections, ensuring a clean, professional look. Today, with the diversity of design trends and materials available, finish trim also acts as a expression of style, ranging from traditional elegance to contemporary minimalism. It helps define character and personality within a space, making it a key aspect of interior detailing.
For those embarking on renovation or new construction projects, understanding the nuances of finish trim—its types, materials, styles, and installation techniques—can significantly impact the final aesthetic. Whether seeking to enhance the classic charm of crown molding or the sleekness of modern baseboards, a strategic approach to finish trim transforms interiors into cohesive, high-quality environments.
Learn more about the finer details of finish trim at Finish trim and discover expert strategies to incorporate it seamlessly into your projects.
Definition and Types of Finish Trim
Finish trim refers to the decorative molding and molding-like elements installed at the junctions of walls, ceilings, floors, and around openings such as doors and windows. Its primary purpose is to conceal seams, gaps, or rough edges, providing a finished look while also contributing to the interior’s stylistic integrity.
There are several prominent types of finish trim, each serving unique roles and offering different aesthetic qualities:
- Baseboards: Installed at the junction of the wall and the floor, baseboards protect wall bases from damage and add visual transition. They come in various profiles, from simple flat styles to elaborate, ornate designs.
- Crown Molding: Placed at the intersection of walls and ceilings, crown molding enhances the room’s vertical space and adds a formal or decorative element.
- Door and Window Casing: These trims frame openings, covering gaps between the wall and the door or window frame. They also contribute to the style, ranging from simple flat casings to intricate Victorian designs.
- Quarter Rounds and Shoe Molding: Used at the base of the baseboards, these trims soften transitions and hide irregularities.
- chair rails and picture rails: Decorative horizontal trims that add accent and can delineate wall areas or provide hanging points for art.
Each type plays a role in both the structural concealment and aesthetic enhancement of interior spaces. The choice depends on the architectural style, personal preferences, and functional needs of the space.
Common Materials Used for Finish Trim
The selection of materials for finish trim influences durability, appearance, ease of installation, and cost. The most common materials include:
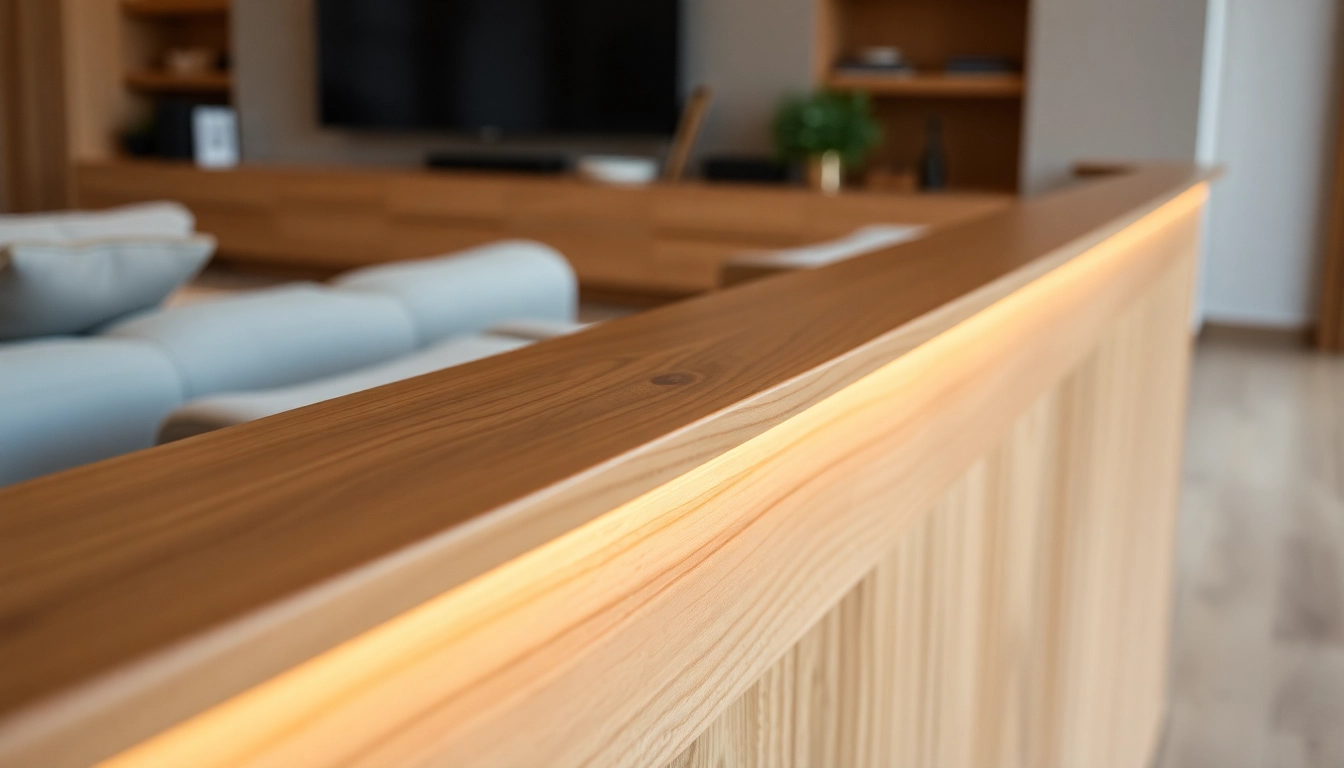
- Wood: Traditional and highly versatile, wood trim offers natural beauty and can be painted, stained, or left natural. Common species include pine, oak, maple, and poplar. Wood allows for intricate detailing and is suitable for both modern and historic design styles.
- Medium Density Fiberboard (MDF): An engineered composite, MDF is popular for its affordability and smooth surface, ideal for painting. It resists warping but can be less durable in humid environments.
- PVC and Vinyl: Frequently used in moist areas such as bathrooms or exteriors, these materials are resistant to moisture, insects, and rot. They are lightweight and easy to install but may have limited aesthetic options.
- Polystyrene or Foam: Used mainly for decorative molding, these materials are inexpensive and lightweight, suitable for DIY projects. However, they may require extra care during installation and painting.
- Metal: Certain trims, especially in commercial or contemporary applications, utilize aluminum or steel for durability and sleekness.
Choosing the right material depends on factors such as the room’s functional environment, desired aesthetic, ease of installation, and budget constraints. Experts often recommend wood or MDF for typical interior applications due to their balance of aesthetics and performance.
Design Trends and Styles for Modern Finish Trim
Finish trim styles evolve with architectural and interior design trends. Today, three dominant approaches define contemporary finish trim design:
Minimalist and Sleek Profiles
Modern interiors favor simplified, clean lines with minimal embellishment. Flat or square-edged baseboards and narrow crown moldings exemplify this trend. These trims often come in neutral colors or are painted to match walls, creating a seamless appearance.
Ornate and Classic Designs
Timeless styles such as ornate crown moldings, intricate rosettes, and detailed baseboards continue to be popular in traditional or transitional interiors. These trims add depth and richness, often painted with contrasting colors or gilded for opulence.
Mixed Material and Texture Play
In innovative design settings, combining materials—like wood with metal or incorporating textured surfaces—provides visual interest. Layered trims and multi-profile moldings help create dynamic, personalized interiors.
Color choice also plays a role—contrasting trims can frame and highlight architectural features, while monochromatic schemes emphasize a clean, coherent look.
Staying current involves selecting trims that align with the overall design language, whether aiming for modern simplicity or vintage elegance. Expert advice indicates pairing innovative profiles with classic materials to achieve timeless appeal.
Preparing for a Flawless Finish Trim Installation
Measuring and Planning Layouts Accurately
Meticulous measurement and planning are crucial for a professional finish. Begin by sketching the room layout and marking the locations for each trim piece. Use a tape measure, angle square, and level to determine the correct lengths, angles, and placement points. Precise measurements minimize waste and the need for re-cuts, saving time and material costs.
When planning a layout, consider the room’s dimensions, wall irregularities, door and window placements, and aesthetic flow. For instance, crown molding should follow the ceiling line, and baseboards should align with other trim elements for a cohesive look.
Selecting the Right Tools and Materials
High-quality tools expedite installation and improve results. Essential tools include miter saws, measuring tapes, nail guns, levels, caulking guns, and sanding blocks. For materials, select trims that match your design vision, ensuring they are prepared and ready for installation.
Preparing Surfaces and Ensuring Structural Stability
Clean, dry, and smooth surfaces are vital for a flawless finish. Remove any old paint, debris, or rough patches. Fill gaps or holes with wood filler and sand smooth once dry. Make sure walls and ceilings are plumb, and structural elements are secure, as any instability will compromise trim installation quality.
By meticulously preparing your space, you lay the foundation for a smooth and successful finish trim project.
Step-by-Step Guide to Installing Finish Trim
Cutting and Fitting Techniques for Precision
Proper cutting ensures tight joints and a professional appearance. Use a miter saw to make accurate angles—typically 45 degrees for corners. Mark your cuts carefully, paying attention to the direction of grain and ensuring that joints align seamlessly.
Test-fit each piece before permanent attachment. Use clamps or temporary supports to hold trim in position during fitting. For intricate angles, measure and mark on the trim itself rather than relying solely on measurements, as this minimizes errors.
Adhesion, Nailing, and Seam Seamless Finishes
Secure trims with finish nails using a nail gun, placing nails at intervals to evenly distribute holding power. Countersink the nails and fill holes with wood filler or joint compound. Adhesives can supplement nailing, especially for heavier or intricate moldings.
Ensure seams and joints fit tightly. Use corner blocks or scrap pieces to reinforce difficult corners. All joints should be flush, with minimal gaps, for a seamless appearance.
Caulking and Sanding for a Smooth Look
Apply paintable caulk along seams, joints, and nail holes to create a smooth transition between pieces. Use a damp rag or finger to smooth out excess caulk and remove imperfections. Allow drying as per manufacturer instructions.
Sand the caulked areas lightly for an even, polished surface. Finish by wiping away dust before painting or staining.
Painting, Staining, and Finishing Touches
Choosing the Best Paint or Stain for Trim
The selection between paint and stain depends on the desired aesthetic. For a clean, modern look, a high-quality latex or oil-based paint with a semi-gloss or satin sheen is recommended for durability and ease of cleaning. For a natural wood appearance, staining with a protective finish highlights the grain and adds warmth.
Techniques for an Even, Durable Finish
Prep the trim surface with sanding and primer before painting or staining. Use high-quality brushes or rollers, applying thin, even coats to prevent drips or brush marks. For darker or more vibrant colors, multiple coats may be necessary. Follow drying times and lightly sand between coats for a smooth finish.
Maintenance and Upkeep to Preserve Appearance
Regular cleaning with gentle soap and water preserves the finish. Inspect trim periodically for chips or damage and touch up paint or stain as needed. Maintaining the finish ensures long-lasting beauty and functionality.
Common Challenges and How to Overcome Them
Dealing with Uneven Cuts and Gaps
Accurate measurement and careful cutting are essential. Use a high-quality miter saw and double-check angles before cutting. For gaps, caulk or apply specialized gap filler to achieve tight seams.
Ensuring Consistency in Color and Texture
Mix paints or stains thoroughly and in large enough quantities to prevent color discrepancies. Use a single batch for the entire project if possible. Proper surface prep and even application further ensure consistency.
Troubleshooting Wood Expansion and Contraction
Wood trim naturally expands或contracts with humidity changes. To accommodate this, leave small gaps during installation and fill them with flexible caulk or eliminate tight joints that may cause cracking or warping. Climate control within the space also minimizes these issues.